
What to Check After Phone Repair? A Complete Checklist to Ensure Your Phone Is Fully Functional
What to Check After Phone Repair? A Complete Checklist to Ensure Your Phone Is Fully Functional
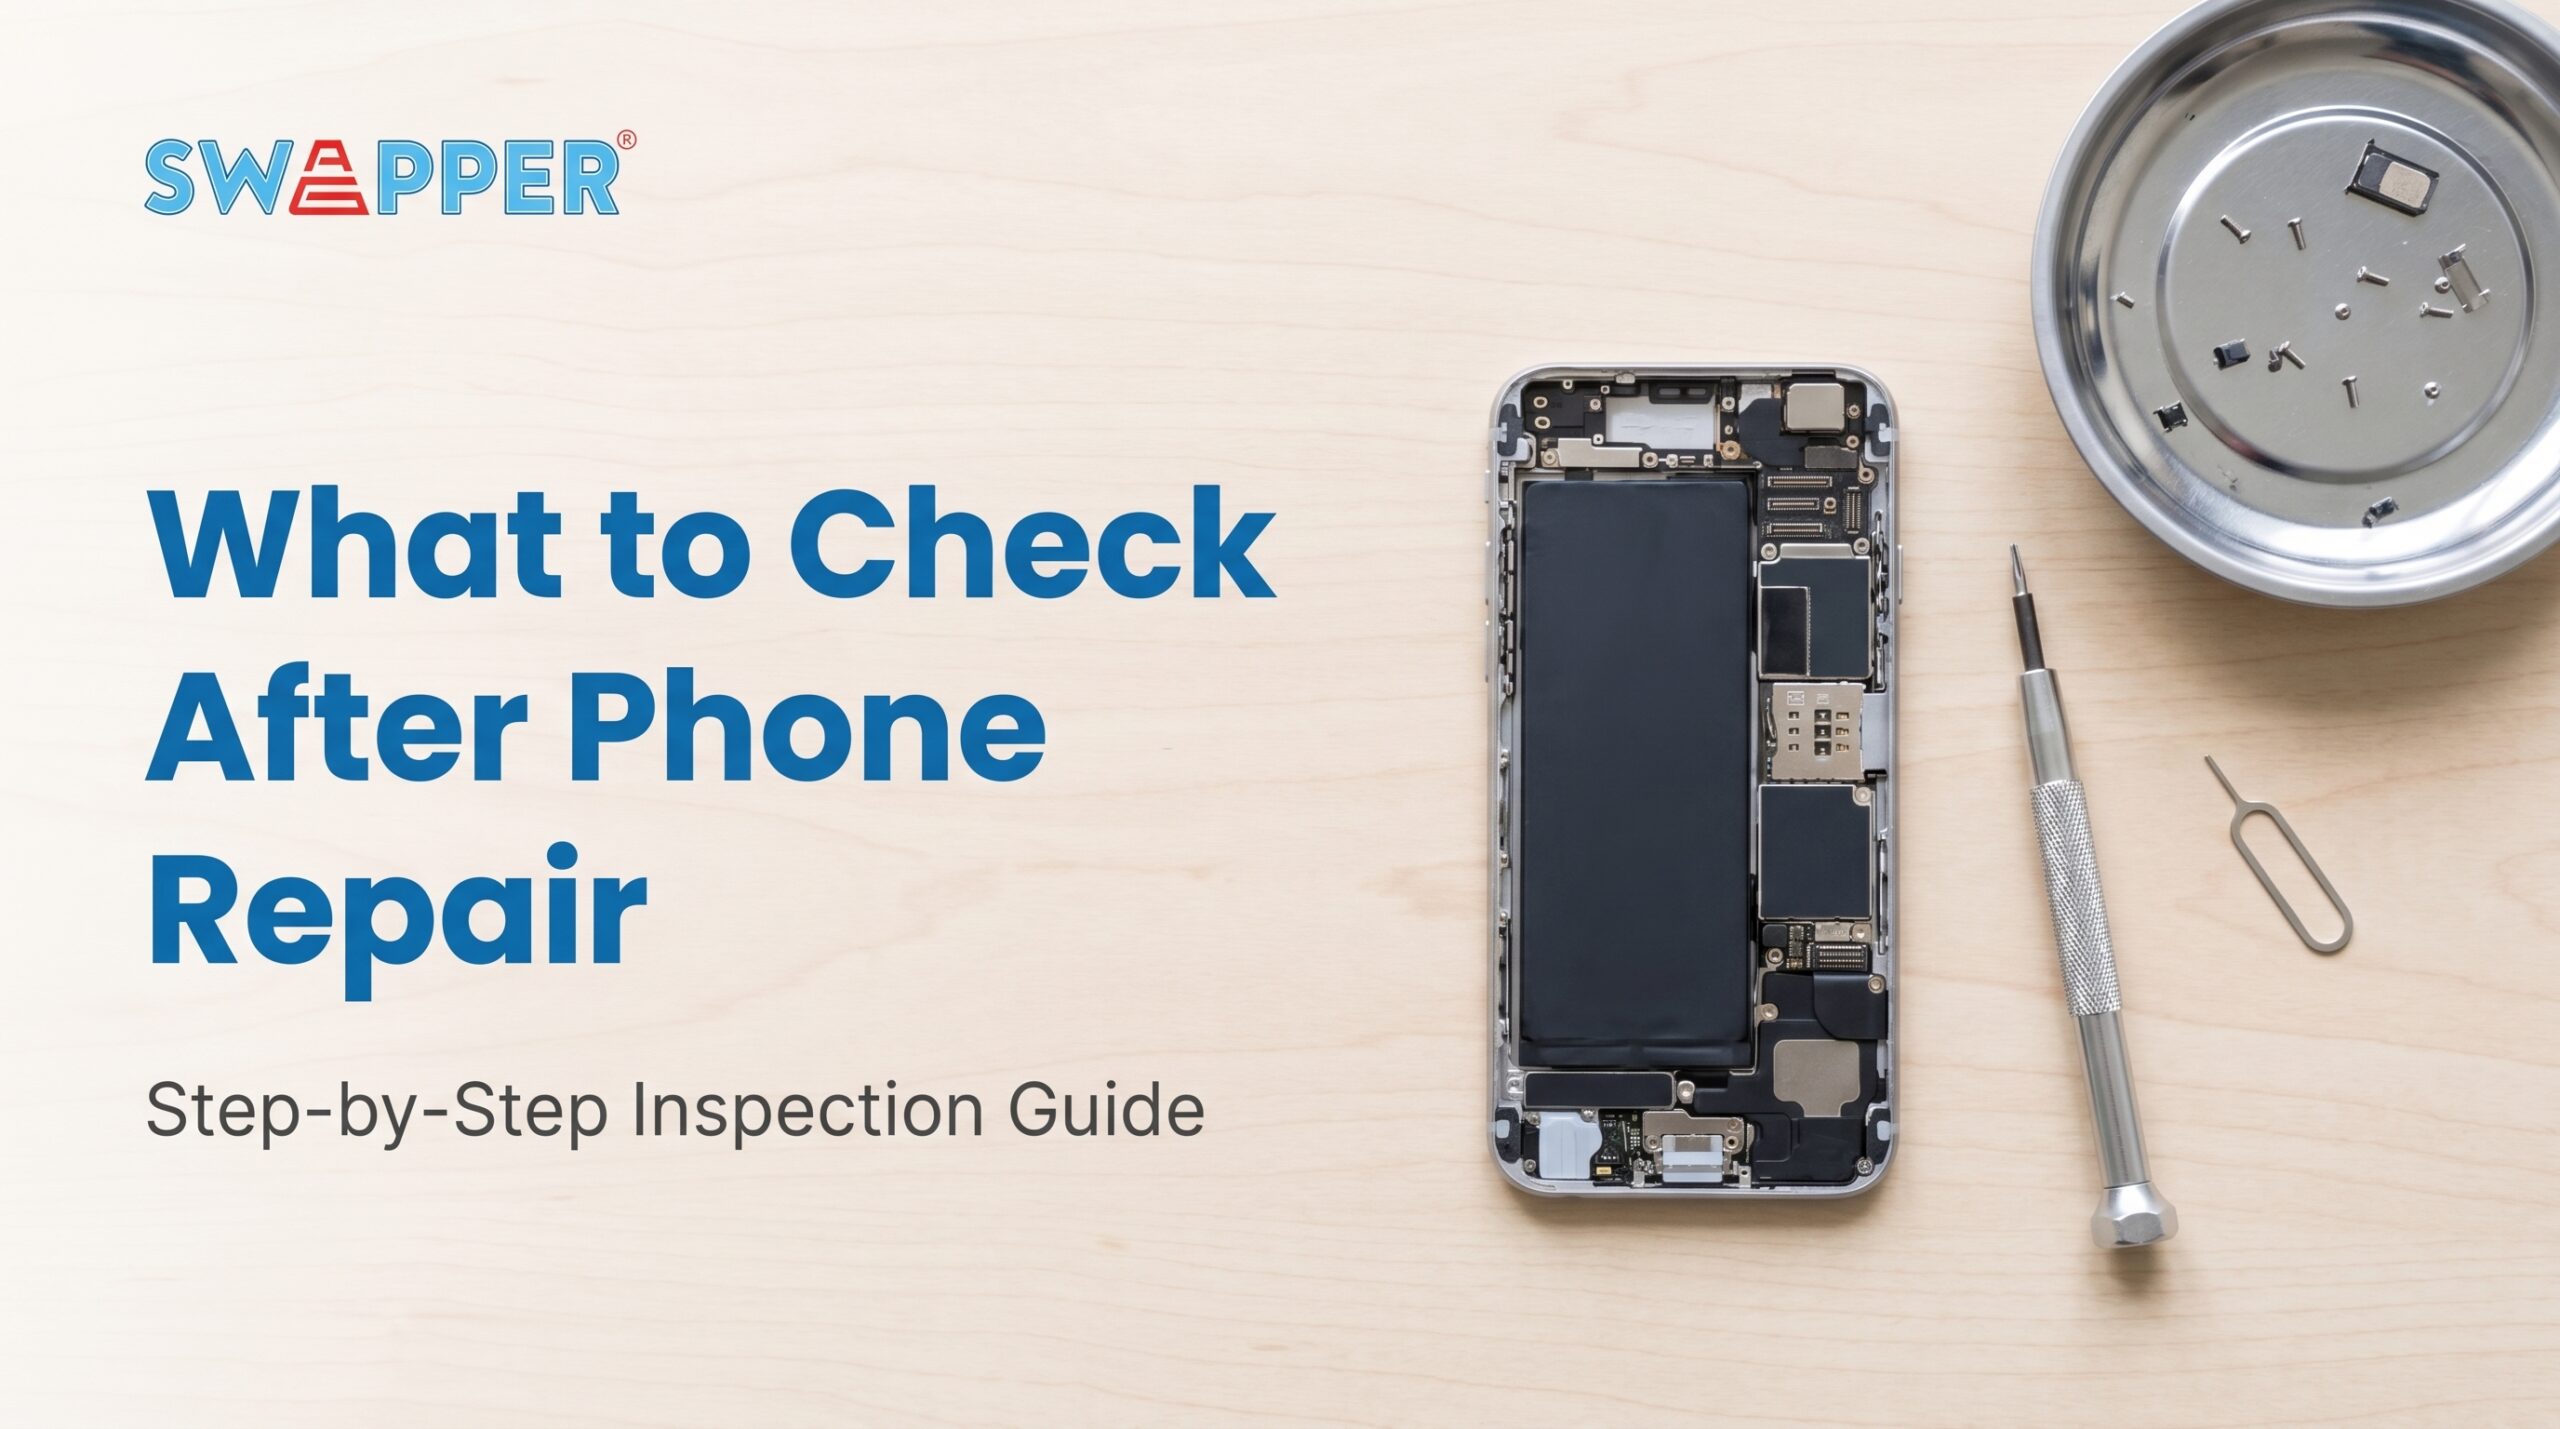
After picking up your phone from a repair shop, many people assume everything is fine as long as the device powers on. However, this assumption can become costly if hidden issues go unnoticed.
Some problems may only appear hours or days later, such as an unresponsive touchscreen, rapid battery drain, blurry camera performance, or charging issues. That’s why it’s important to perform a thorough inspection immediately after collecting your device.
This guide explains what to check after phone repair so you can identify potential issues before they become bigger and more expensive problems.
Check the Screen and Touch Responsiveness
This should be your top priority, especially if the screen was replaced.
What to Test
- Scroll up and down across different apps
- Test touch responsiveness on all corners of the screen
- Type on the keyboard to identify any lag or missed touches
- Check brightness levels and color accuracy
Why It Matters
Screen replacements can sometimes result in issues such as ghost touches, dead spots, inconsistent brightness, or inaccurate color reproduction.
Test Battery Performance
Even if the battery was not replaced, repair work can sometimes affect battery calibration or internal connections. Some issues may only become noticeable after a few hours of normal usage.
3 Signs Your Battery May Have Been Affected
Fast Battery Drain
The battery percentage drops significantly faster than before the repair.
Overheating
The phone becomes unusually warm during regular activities such as browsing or messaging.
Slow Charging
Charging takes longer than normal or feels less consistent than before.
If you notice any of these symptoms after a repair, there could be a hardware issue or a software calibration problem that requires further inspection. Testing battery performance early can help identify potential problems before they become more serious.
Verify the Charging Port and Cable Connection
A charging port may have been disconnected or affected during the repair process. Checking how your device behaves compared to normal charging performance helps identify hidden issues early.
Normal Charging Behavior
- Cable fits securely without movement
- Fast charging activates normally (if supported)
- Charging remains stable even when slightly moved
Possible Issue After Repair
- Charging disconnects intermittently
- Fast charging not detected
- Loose connection when cable is adjusted
Test Camera Functionality (Front and Rear)
Many users forget to test the camera after a phone repair. Issues such as blurry images, autofocus failure, or internal dust can appear if components were not properly reassembled.
Autofocus Performance
Check if the camera quickly locks focus when switching between near and far objects.
Photo Clarity
Ensure images are sharp, detailed, and not blurry or hazy in normal lighting conditions.
Video Quality
Record a short video and check for smooth playback, stable focus, and no lag
Lens Condition
Inspect for dust, fogging, or internal debris that may affect image quality.
Conclusion
A phone repair is not truly complete the moment the device powers on. What happens after that is just as important, because hidden issues can still appear even if everything seems fine at first glance.
By running through a proper post-repair checklist, you reduce the risk of missing early warning signs such as battery instability, charging issues, camera defects, or audio problems. A few minutes of careful testing can prevent unnecessary repair costs later.